Title: Mastering Slitting Line Basics and Oxy-Acetylene Cutting Torch Setup | Warrior Welding
Description:
Welcome to Warrior Welding, your ultimate source for welding tips and tricks! In this video, we delve into the fundamentals of Slitting Line Basics, How to set your oxy-acetylene cutting torch, and provide a quick refresher on torch cutting basics. If you’re passionate about welding, this informative video is a must-watch!
Introduction:
Join us as we explore the essential techniques and expertise required to master the Slitting Line Basics, set up your oxy-acetylene cutting torch like a pro, and refresh your knowledge on torch cutting essentials. Our experts at Warrior Welding are here to guide you through every step, ensuring you gain valuable insights and develop your welding skills.
Video Content:
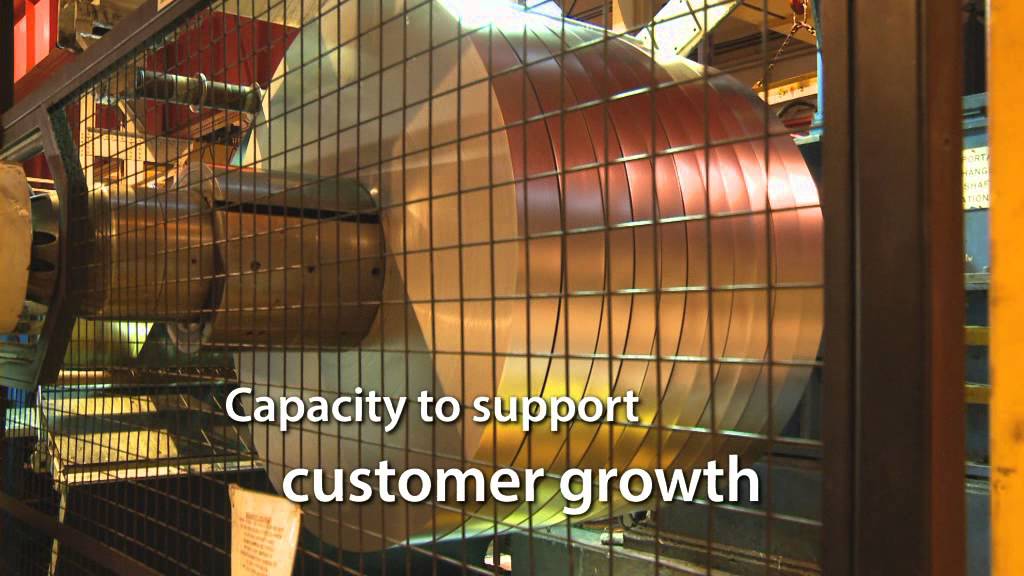
1. Slitting Line Basics:
– Understand the purpose and functionalities of a slitting line.
– Learn about the different components involved, including decoilers, slitters, and recoilers.
– Discover the importance of proper material alignment and tension control.
– Explore the various factors that affect slitting line efficiency and output quality.
2. How to Set Your Oxy-Acetylene Cutting Torch:
– Step-by-step instructions on setting up your oxy-acetylene cutting torch.
– Learn about selecting the correct torch tip size for different materials and thicknesses.
– Understand the importance of adjusting gas pressures and flame settings for optimal cutting performance.
– Discover tips and tricks to ensure a smooth and precise cutting process.
3. Quick Refresher on Torch Cutting Basics:
– Recap the essential safety precautions when working with a torch.
– Refresh your knowledge on the correct handling and positioning of a cutting torch.
– Learn about the different types of flames and their applications in torch cutting.
– Gain insights into troubleshooting common issues during torch cutting operations.
Call to Action:
If you found this video helpful, don’t forget to give it a thumbs up and subscribe to our channel for more welding tips and tricks every day! Share this video with fellow welding enthusiasts to spread the knowledge. Let us know your thoughts and any specific topics you’d like us to cover in the comments section below.
Additional Tags and Keywords:
slitting line, oxy-acetylene cutting torch, torch cutting basics, welding tips, welding tricks, welding techniques, welding skills, welding safety, welding fundamentals, torch cutting safety, cutting torch setup, torch flame settings, torch cutting troubleshooting, welding education, Warrior Welding.
Hashtags:
#weldtube #welding #slittinglinebasics #oxyacetylenecuttingtorch #weldingtips #weldingtricks #warriorwelding
Title: Mastering the Art of Setting Your Oxy-Acetylene Cutting Torch
Introduction:
Setting up your oxy-acetylene cutting torch correctly is crucial to ensure efficient and precise cutting. Whether you are a novice or an experienced welder, this guide will provide you with a comprehensive tilter on how to set up your oxy-acetylene cutting torch, allowing you to achieve optimal results every time.
Step 1: Safety First
Before starting, always prioritize safety. Wear appropriate personal protective equipment (PPE), including safety glasses, gloves, and a flame-resistant jacket. Make sure your work area is well-ventilated and free from flammable materials.
Step 2: Gather Equipment
Ensure you have all the necessary equipment and materials ready: oxy-acetylene cutting torch, cylinders (oxygen and acetylene), regulators, hoses, striker, goggles, and a wrench.
Step 3: Cylinder Connections
Securely attach the oxygen and acetylene cylinders to their respective regulators using the provided wrench. Ensure the cylinder valves are closed before making any connections.
Step 4: Regulator Settings
Open the oxygen cylinder valve slowly and adjust the regulator until the pressure gauge reads the recommended setting for cutting, usually between 30-40 psi. Repeat the same process for the acetylene cylinder, aiming for a pressure setting around 5-10 psi.
Step 5: Hoses and Torch Assembly
Connect the oxygen hose to the oxygen regulator and the acetylene hose to the acetylene regulator. Double-check all connections to ensure they are tight and leak-free. Attach the torch to the hoses securely, following the manufacturer’s instructions.
Step 6: Lighting the Torch
Open the acetylene torch valve slightly and use a striker to ignite the flame. Gradually increase the acetylene flow until a neutral flame is achieved. A neutral flame has a distinct blue inner cone surrounded by a light blue outer cone.
Step 7: Adjusting the Oxygen Flow
Open the oxygen valve on the torch slowly until the flame becomes sharper and more focused. Aim for a slightly reducing flame, meaning the inner blue cone should be shorter than the outer cone.
Step 8: Preheating the Material
Before cutting, preheat the material by keeping the tip of the flame approximately one inch away from the surface. Move the torch in a circular motion until the metal reaches the desired temperature for cutting.
Step 9: Cutting Technique
Position the torch perpendicular to the workpiece, allowing the flame to touch the metal. Move the torch smoothly along the desired cutting line, maintaining a consistent distance between the tip and the metal surface. Utilize a steady, controlled cutting speed for accurate results.
Step 10: Post-Cutting Safety
Once the cut is complete, close both the acetylene and oxygen torch valves. Allow the torch to cool down before disconnecting any hoses or regulators. Store the equipment in a safe and designated area away from flammable substances.
Conclusion:
By following these step-by-step instructions, you can confidently set up your oxy-acetylene cutting torch for efficient and precise cutting. Remember, safety should always be your top priority, so never rush the setup process and always adhere to safety guidelines. Mastering the art of torch setup will undoubtedly enhance your cutting skills and contribute to your overall welding expertise.Steel Coil Slitting Line
#set #oxyacetylene #cutting #torch