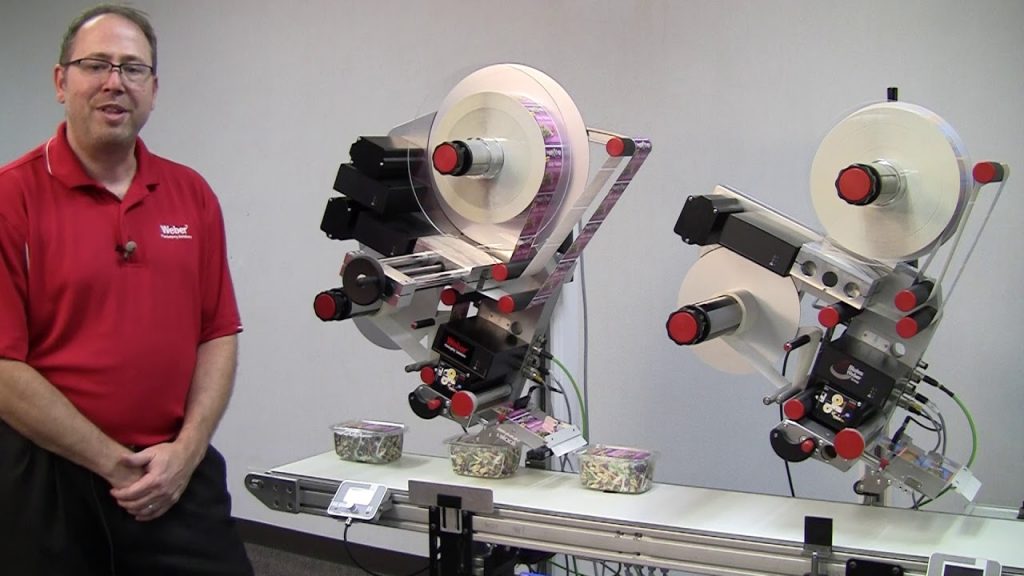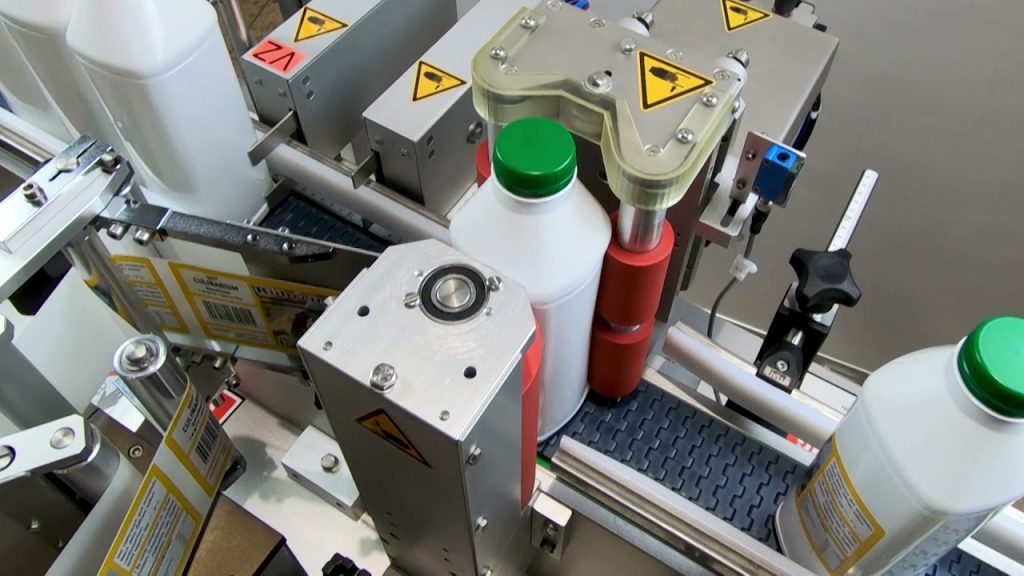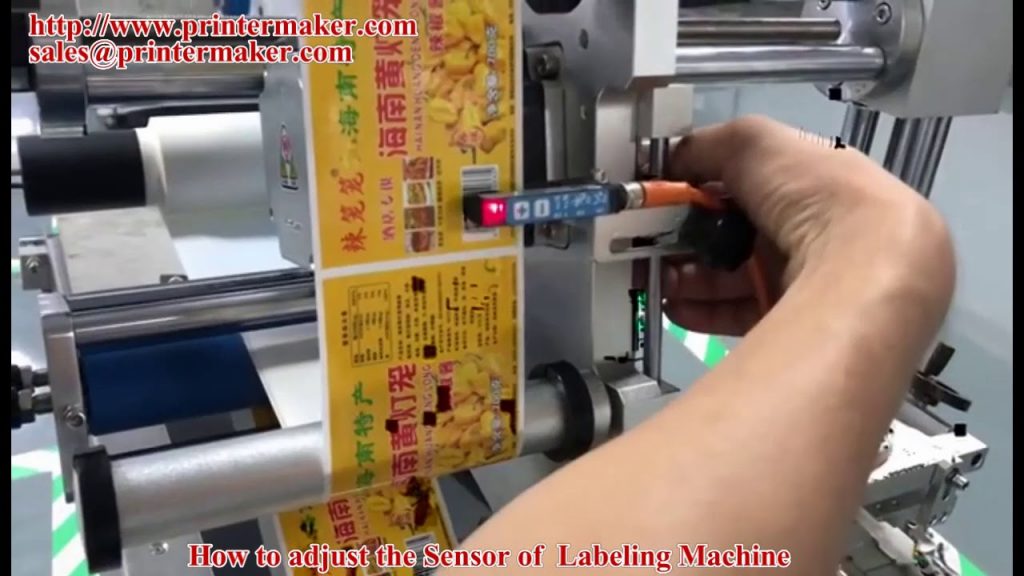
Are you struggling with adjusting the sensor on your labeling machine? Look no further! In this YouTube video article, we will guide you on how to adjust the sensor of an industrial labeling machine. Whether you are a beginner or an experienced user, this step-by-step tutorial will help you achieve accurate and efficient labeling.
Before we dive into the details, let’s briefly discuss the importance of a properly adjusted sensor in a labeling machine. The sensor plays a crucial role in detecting the position and alignment of the labels, ensuring precise placement on the product or packaging. Adjusting the sensor correctly will eliminate issues such as misalignment, overlapping, or wasted labels, ultimately saving you time and resources.
Now, let’s get started with the step-by-step process of adjusting the sensor on your labeling machine:
Step 1: Prepare the machine
Make sure the labeling machine is turned off and disconnected from the power source. This will ensure your safety during the adjustment process. Also, gather any necessary tools, such as a screwdriver or Allen wrench, as different machines may require different tools for adjustments.
Step 2: Locate the sensor
The sensor is typically located near the label dispensing area or the conveyor belt. It may be a photoelectric sensor or an ultrasonic sensor, depending on the type of machine you are using. Refer to the machine’s user manual or contact the manufacturer for specific details on sensor location.
Step 3: Adjust the sensor position
Start by loosening the screws or bolts holding the sensor in place. Carefully move the sensor closer or further away from the label path, ensuring it is aligned with the centerline of the label. This adjustment will vary depending on the machine and label size. Make small incremental adjustments, testing the sensor after each adjustment to achieve optimal performance.
Step 4: Test the sensor
Once you have adjusted the sensor, it’s time to test its accuracy. Load a few sample labels into the machine and run a test cycle. Observe the label placement and check if it aligns perfectly with your desired position. Make further adjustments if necessary, repeating the testing process until you achieve the desired results.
Step 5: Secure the sensor
After you are satisfied with the sensor’s position and accuracy, tighten the screws or bolts to secure the sensor in place. Ensure that it is firmly fixed, preventing any unwanted movement during label application.
Congratulations! You have successfully adjusted the sensor on your industrial labeling machine. Now you can enjoy precise and efficient labeling, minimizing wastage and improving productivity.
In conclusion, adjusting the sensor of an industrial labeling machine is a crucial step in achieving accurate label placement. By following the step-by-step process outlined in this video article, you can ensure optimal performance and efficiency in your labeling operations.
Remember, a well-adjusted sensor is key to minimizing label wastage, improving productivity, and delivering high-quality labeled products. So, take the time to adjust and fine-tune your labeling machine’s sensor, and reap the benefits in your labeling process.
Check out our video tutorial on adjusting the sensor of an industrial labeling machine for a visual demonstration and additional tips. Don’t miss out on this valuable resource to enhance your labeling experience!
Check the coil packing solution with a leading manufacturer for the professional solution just here: [Insert appropriate call-to-action statement with a link to the manufacturer’s website]. Labeling Machine
“Efficient Sensor Adjustment Techniques for Optimal Performance of Labeling Machines: A Comprehensive Guide”