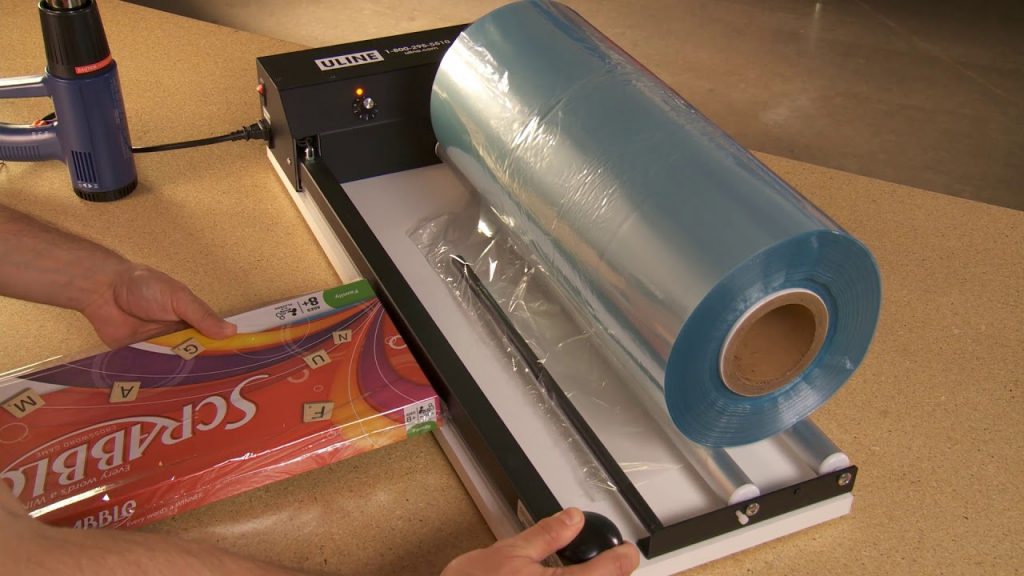
If you’re in need of a shrinking machine, look no further! In this YouTube video, we will guide you on how to connect electric wire of a shrink tunnel. Whether you’re a beginner or an experienced user, this video will provide you with valuable insights and instructions. So, let’s dive in and explore the world of shrinking machines together!
Title: How to Connect Electric Wire of a Shrink Tunnel – A Step-by-Step Guide
Introduction:
Welcome to our YouTube video on connecting electric wire of a shrink tunnel. In this video, we will cover everything you need to know about the process, including the equipment required, step-by-step instructions, and important safety tips. Let’s get started!
Section 1: Understanding the Basics of a Shrink Tunnel
Before we jump into the wiring process, let’s quickly understand what a shrink tunnel is and how it works. A shrink tunnel is a machine used to shrink-wrap products by applying heat to the shrink film. It creates a tight and secure packaging, protecting the product during storage and transportation.
Section 2: Equipment Required
To connect the electric wire of a shrink tunnel, you will need the following equipment:
– Shrink tunnel machine
– Electric wires and cables
– Wire connectors
– Wire strippers
– Screwdrivers
– Electrical tape
– Multimeter (optional but recommended for testing)
Section 3: Step-by-Step Instructions
Now, let’s walk through the step-by-step process of connecting the electric wire of a shrink tunnel:
Step 1: Safety First
– Always ensure that the power is turned off before starting any electrical work.
– Wear appropriate safety gear, such as gloves and safety glasses, to protect yourself from any potential hazards.
Step 2: Familiarize Yourself with the Wiring Diagram
– Every shrink tunnel comes with a wiring diagram that shows the connections and components.
– Take a moment to study the diagram and understand the different parts involved.
Step 3: Connect the Power Supply
– Begin by connecting the power supply wires to the shrink tunnel.
– Follow the wiring diagram to identify the correct terminals for connection.
– Use wire connectors to secure the wires in place.
– Double-check the connections to ensure they are tight and secure.
Step 4: Connect the Control Panel
– Locate the control panel on the shrink tunnel machine.
– Connect the control panel wires according to the wiring diagram.
– Again, use wire connectors to securely fasten the wires.
Step 5: Test the Connections
– Once all the wires are connected, it’s important to test the connections using a multimeter.
– Set the multimeter to the appropriate setting and test the voltage at different points to ensure everything is functioning correctly.
Step 6: Secure the Wires
– After confirming that all connections are working properly, use electrical tape to secure the wires and prevent any accidental disconnections.
Section 4: Safety Tips and Precautions
– Always follow the manufacturer’s instructions and guidelines when connecting electric wires.
– Never work on electrical connections without turning off the power.
– If you’re unsure about any step, consult a professional electrician for assistance.
Conclusion:
Congratulations! You have successfully learned how to connect the electric wire of a shrink tunnel. Remember to always prioritize safety and follow the manufacturer’s instructions. With the right knowledge and equipment, you can ensure a smooth and efficient packaging process for your products.
Check the coil packing solution with a leading manufacturer for the professional solution just here:
Remember to like and subscribe to our channel for more informative videos on packaging solutions and equipment. Stay tuned for our upcoming videos on the latest trends and tips in the industry.
Keywords: Buy Shrinking Machine, connect electric wire, shrink tunnel, packaging solutions, equipment, wiring process, step-by-step instructions, safety tips, professional solution. Shrinking Machine
“Effortless Wire Connection in Shrink Tunnel: Mastering the Art | Get Your Shrinking Machine Now!”