Labeling Machine Parts – A Comprehensive Guide
Labeling machines play a crucial role in various industries, enabling efficient and accurate product labeling. To ensure smooth operations and optimal performance, it is important to understand the different parts of a labeling machine and how to change spare parts for different sizes of paper labels. In this article, we will delve into the intricacies of labeling machine parts and provide a step-by-step guide on replacing spare parts for a glue labeller.
Labeling Machine Parts: An Overview
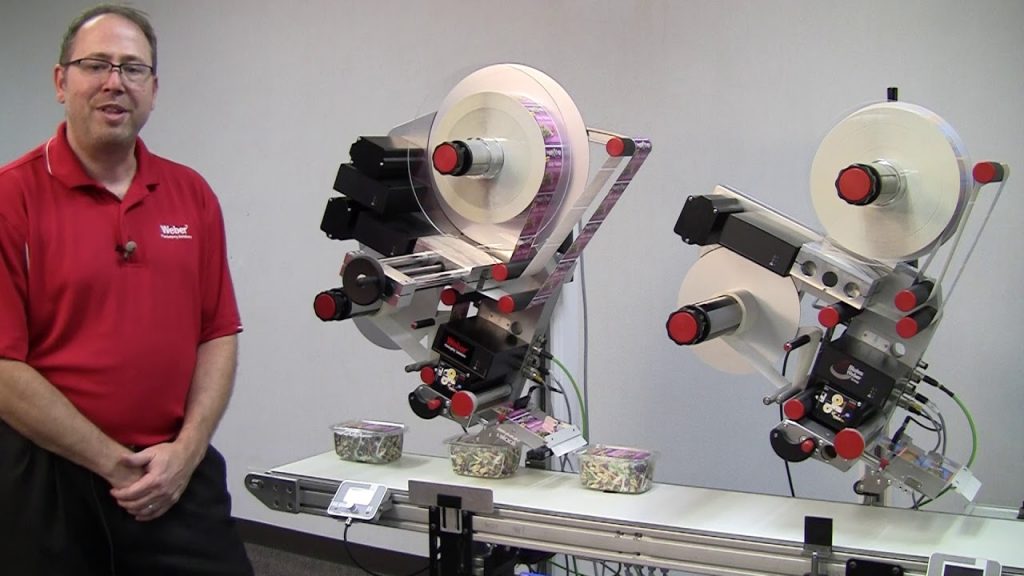
1. Dispensing Mechanism: The dispensing mechanism is responsible for releasing adhesive labels onto products. It consists of a label roll holder, feed roller, and a peel plate. Understanding how the dispensing mechanism operates is crucial for efficient label application.
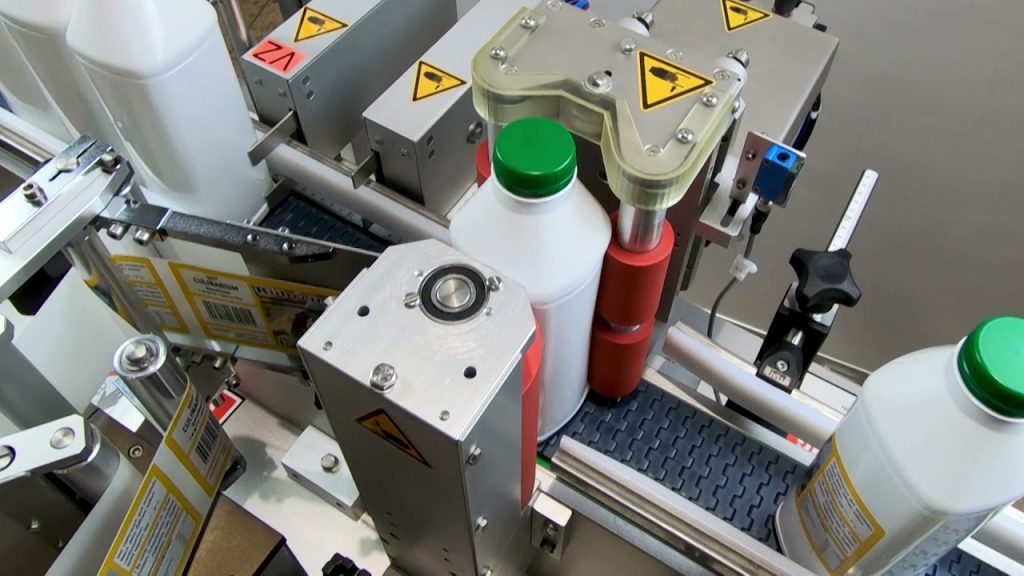
2. Conveyor System: The conveyor system ensures the smooth movement of products through the labeling process. It includes a conveyor belt, guide rails, and sensors to detect product positioning and trigger label application.
3. Labeling Head: The labeling head is the heart of the machine and houses critical components such as the label applicator, label sensor, and label rewind system. It is responsible for accurately applying labels to products.
4. Control Panel: The control panel allows operators to manage and monitor the labeling process. It provides settings for label size, speed, and other parameters. Familiarizing yourself with the control panel is essential for optimal machine operation.
5. Sensors: Sensors play a crucial role in detecting products, labels, and other variables during the labeling process. They ensure precise label application and help prevent errors.
6. Spare Parts: Labeling machines require regular maintenance and occasional replacement of spare parts. Common spare parts include label rolls, dispensing rollers, belts, and brushes. Understanding how to change these parts is vital to avoid downtime and ensure uninterrupted production.
How to Change Spare Parts for Different Sizes of Paper Labels
Step 1: Preparation
Before changing any spare parts, ensure that the labeling machine is turned off and disconnected from the power supply. This step is crucial for safety purposes.
Step 2: Identify the Spare Parts
Refer to the machine manual or consult with the manufacturer to identify the specific spare parts required for changing the paper labels. Different label sizes may require different dispensing rollers, label sensors, or other components.
Step 3: Remove the Old Parts
Carefully remove the old parts, following the manufacturer’s instructions. Take note of the position and orientation of each part to ensure proper installation of the new components.
Step 4: Install the New Parts
Install the new spare parts according to the manufacturer’s guidelines. Pay attention to proper alignment and positioning to maintain accurate label application.
Step 5: Test and Calibration
After replacing the spare parts, run a test to ensure optimal performance. Adjust any necessary settings on the control panel and run a few test labels to verify accurate application.
Step 6: Maintenance and Regular Inspections
To prolong the lifespan of your labeling machine and minimize downtime, schedule regular maintenance and inspections. This includes cleaning, lubrication, and checking for any signs of wear or damage to spare parts.
Conclusion
Labeling machine parts are integral to the efficient and accurate application of labels in various industries. Understanding the different components and how to change spare parts for different label sizes is essential for smooth operations. By following the step-by-step guide provided in this article, you can ensure optimal performance and minimize downtime.
Check the coil packing solution with a leading manufacturer for a professional solution just here: [Link to the manufacturer’s website] Labeling Machine
“Efficiently Changing Spare Parts for Different Sizes on Glue Labeller and Labeling Machine”