
If you are in the packaging industry, you understand the importance of having a reliable and efficient shrink sealing machine. One crucial aspect of operating such a machine is understanding the proper installation of shrink film. In this article, we will provide you with an in-depth guide on how to install shrink film on a shrink wrapping machine, specifically focusing on the operation manual for an Automatic Shrinking Machine. So, let’s dive in!
Shrink film is a versatile material that is commonly used for packaging various products. It is a polymer plastic film that, when heated, shrinks tightly around the items it is covering. This creates a secure and tamper-proof seal, protecting the product from damage and ensuring its freshness.
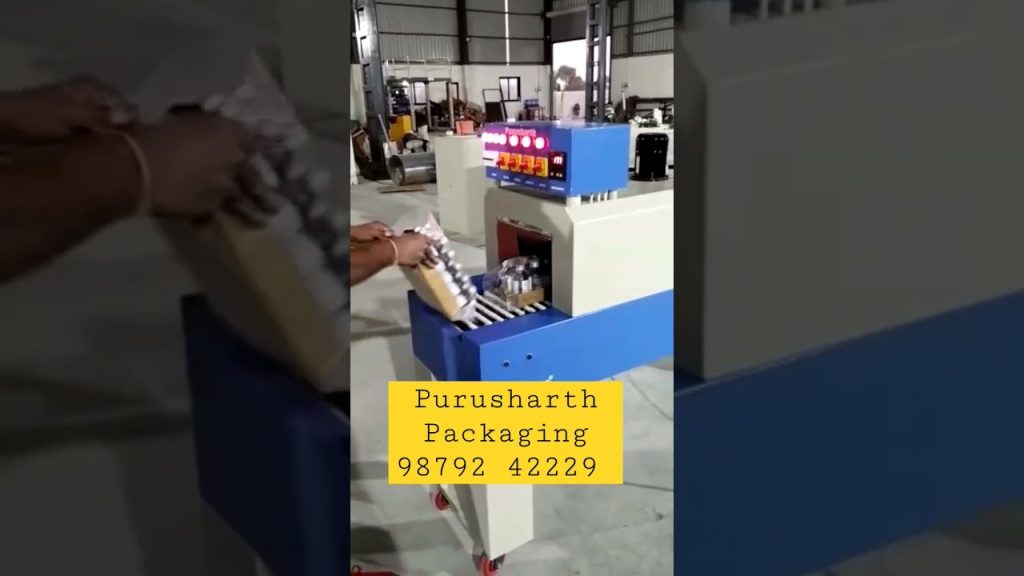
Before we delve into the installation process, it is essential to understand the components of an Automatic Shrinking Machine. This type of machine is designed to automate the shrink wrapping process, increasing efficiency and reducing labor costs. It consists of three main parts: the sealer, tunnel, and conveyor system.
The sealer is responsible for sealing the shrink film around the product. It uses heat to melt the film edges together, creating a tight seal. The tunnel is where the magic happens – it applies heat evenly to the wrapped product, causing the film to shrink and conform to the shape of the item. Lastly, the conveyor system moves the wrapped product through the machine, ensuring a smooth and continuous operation.
Now, let’s move on to the installation process. Follow these step-by-step instructions to ensure a successful installation of shrink film on your Automatic Shrinking Machine:
Step 1: Prepare the Machine
Before installing the shrink film, ensure that the machine is clean and free from any debris. This will prevent any interference during the installation process.
Step 2: Choose the Right Shrink Film
Selecting the appropriate shrink film is crucial to achieving a secure and professional-looking wrap. Consider factors such as the type of product, its size, and any specific requirements for heat resistance or clarity.
Step 3: Load the Shrink Film
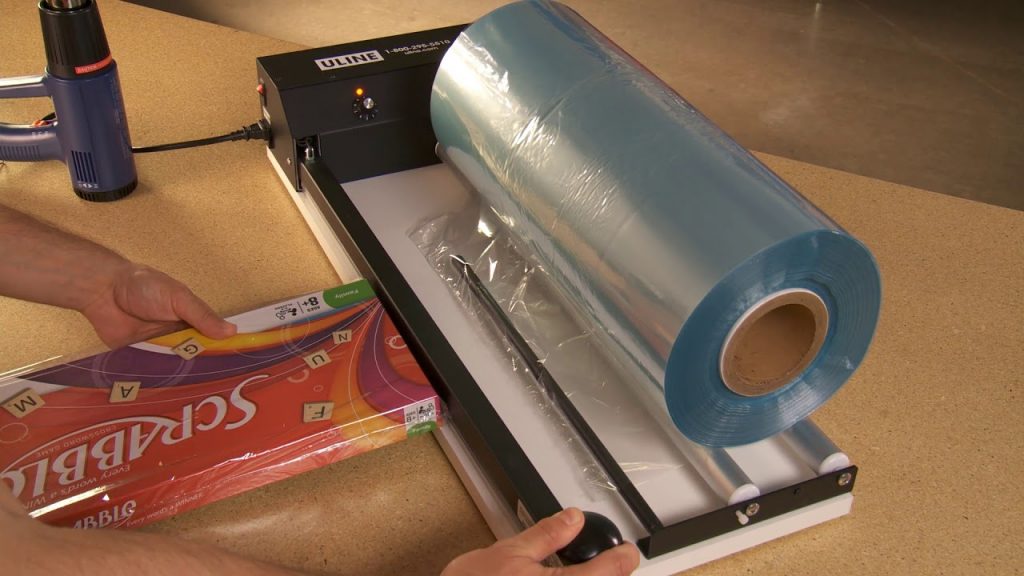
Begin by locating the film roll holder on the machine. Place the shrink film roll onto the holder, ensuring that it rotates freely. Pull out a sufficient amount of film, allowing it to hang loosely in front of the machine.
Step 4: Thread the Film
Next, locate the film threading path on the machine. Follow the arrows or guidelines provided to thread the film through the machine’s various components. This typically involves passing the film through rollers, tension bars, and the sealer mechanism.
Step 5: Adjust Tension and Alignment
Once the film is threaded, adjust the tension and alignment settings on the machine. This will ensure that the film is properly aligned and tightly wrapped around the product. Refer to the operation manual for specific instructions on adjusting these settings.
Step 6: Test Run
Before starting the actual shrink wrapping process, perform a test run with a sample product. This will allow you to identify any issues or adjustments that need to be made before packaging your actual products.
Congratulations! You have successfully installed the shrink film on your Automatic Shrinking Machine. You are now ready to start packaging your products with efficiency and precision. Remember to regularly maintain and clean your machine to ensure optimal performance.
In conclusion, the installation of shrink film on a shrink wrapping machine is a crucial step in the packaging process. By following the step-by-step instructions outlined in this article, you can ensure a smooth and efficient operation of your Automatic Shrinking Machine. Happy packaging!
Check the coil packing solution with a leading manufacturer for the professional solution just here: [Insert relevant link] Shrinking Machine
“Effortless Shrink Film Installation Guide: Mastering the Loading Process for Shrink Wrapping Machines”