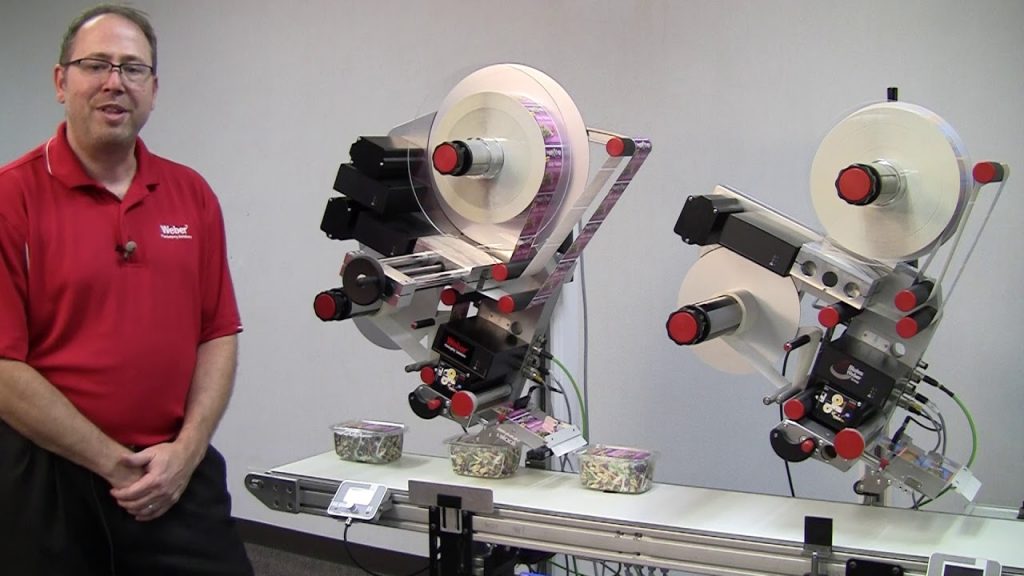
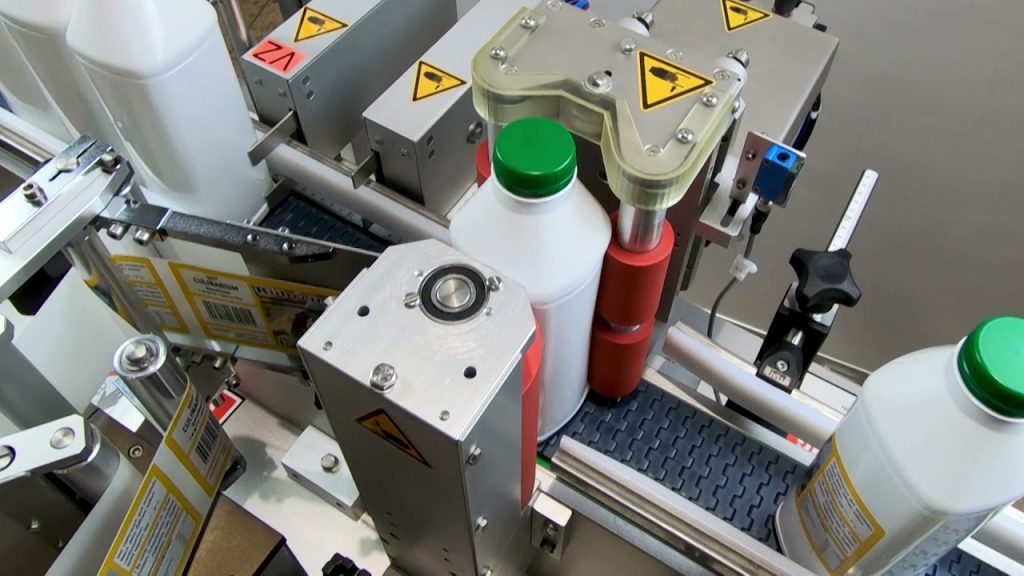
Check out our comprehensive guide on how to set up your AP360 or AP362 Label Applicator. Whether you’re a beginner or an experienced user, this video will walk you through the process of applying labels fast and accurately with Primera’s top-of-the-line Label Applicator Machine.
Setting up your label applicator can be a daunting task, but with our step-by-step instructions, you’ll be up and running in no time. Let’s dive right in!
Step 1: Unboxing and assembling your Label Applicator Machine
Upon receiving your AP360 or AP362 Label Applicator, carefully unbox all the components. You’ll find the applicator, power cord, user manual, and any additional accessories. Follow the instructions in the user manual to assemble the machine properly. Make sure to connect the power cord securely to a power source.
Step 2: Adjusting the Label Sensor
Proper adjustment of the label sensor is crucial for accurate label application. The label sensor detects the gap between labels and ensures precise placement. Consult the user manual to locate the label sensor and follow the instructions to adjust it according to your label size and type.
Step 3: Loading Labels and Ribbon
Before loading labels and ribbon, make sure to power off the machine. Open the label roll holder and place the roll of labels onto it. Feed the labels through the label guides and into the machine, following the directions in the user manual. If using a thermal transfer printer, load the ribbon according to the instructions provided.
Step 4: Calibrating the Label Applicator
Calibrating your label applicator is essential for consistent and accurate label placement. Turn on the machine and navigate to the settings menu. Follow the instructions in the user manual to calibrate the applicator based on your label size and desired placement. This step may require trial and error adjustments to achieve optimal results.
Step 5: Testing and Fine-tuning
Before starting your labeling operations, it’s important to test the applicator with a few labels to ensure everything is functioning correctly. Adjust any settings as needed until you achieve the desired label placement. Take your time to fine-tune the machine, as this will save you time and minimize label wastage in the long run.
Congratulations! You’ve successfully set up your AP360 or AP362 Label Applicator. Now you can enjoy the benefits of fast and accurate label application for your products. Remember to refer back to the user manual for any troubleshooting or additional features you may need.
In conclusion, Primera’s AP360 and AP362 Label Applicators provide a reliable and efficient solution for all your labeling needs. With proper setup and calibration, you can streamline your labeling process and ensure professional-looking results every time.
Label Applicator Machine: Your Key to Efficient Labeling
Setting up and operating a label applicator machine may seem like a daunting task, but with Primera’s AP360 and AP362 Label Applicators, it’s a breeze. From unboxing to calibration, this video guide has covered all the necessary steps to get you started. Don’t let manual label application slow you down – invest in a Label Applicator Machine and experience the convenience and accuracy it offers.
Check out leading manufacturers for professional coil packing solutions, ensuring your packaging needs are met efficiently and effectively. Labeling Machine
“Efficient Label Application: A Comprehensive Guide to Setting Up and Using the Primera AP360 and AP362 Label Applicator Machines”