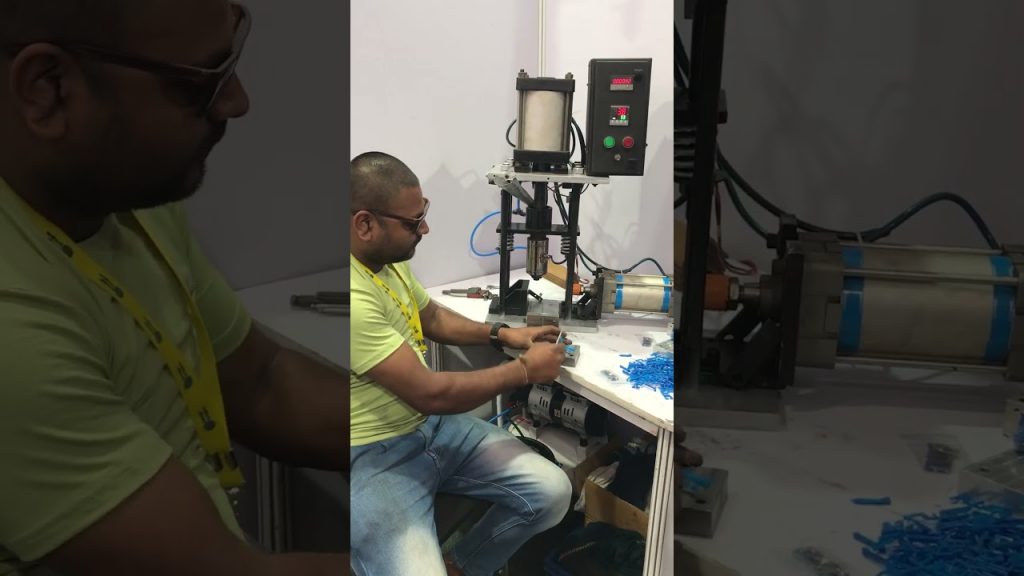
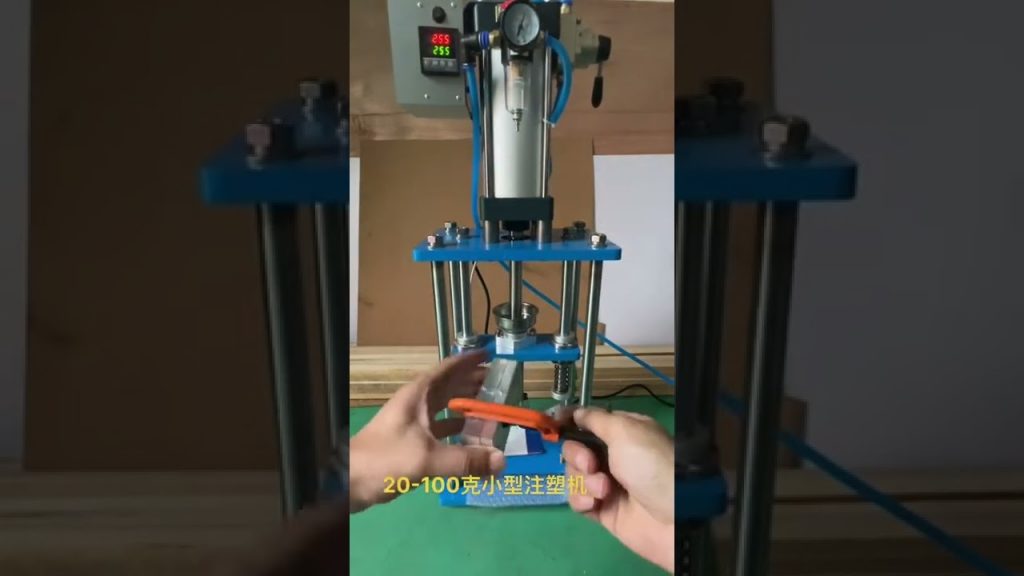
Title: High-Performance Automatic Plastic Injection Machine – Efficient and User-Friendly
Description:
Introduction:
Welcome to our video showcasing the cutting-edge Automatic Plastic Injection Machine. In this video, we will provide you with an in-depth overview of this advanced machine, its features, and how it revolutionizes plastic injection molding. Discover how this fully automatic, horizontally-oriented injection molding machine with low power consumption and an easy-to-use programmable logic controller (PLC) can enhance your manufacturing process.
Video Content:
1. Overview:
Delve into the world of plastic injection molding with our Automatic Plastic Injection Machine. This state-of-the-art machine combines precision, efficiency, and ease of use to meet the demands of modern manufacturing.
2. Key Features:
– Fully Automatic Operation: Experience seamless and hassle-free molding with the fully automatic function of this machine. It streamlines the production process, saving you time and effort.
– Horizontal Injection Design: The horizontal orientation ensures enhanced stability during the injection process, resulting in precise and consistent molded products.
– Low Power Consumption: Our machine is engineered to be energy-efficient, reducing power consumption without compromising performance. This sustainable feature helps minimize your manufacturing costs and environmental impact.
– User-Friendly PLC: The easy-to-use programmable logic controller empowers operators to control and monitor the machine effortlessly. Its intuitive interface allows for quick programming and adjustments.
3. Operation Steps:
Learn how to operate the Automatic Plastic Injection Machine with our step-by-step guide:
– Step 1: Prepare the mold and set it securely on the machine.
– Step 2: Load the plastic material into the hopper, ensuring proper quantities and quality.
– Step 3: Set the desired injection parameters on the PLC, including temperature, pressure, and injection speed.
– Step 4: Initiate the injection process through the control panel or remote control, allowing the machine to melt the plastic and inject it into the mold.
– Step 5: Once the injection is complete, allow the molded product to cool and solidify.
– Step 6: Remove the finished product from the mold, inspect its quality, and repeat the process for subsequent molds.
Call to Action:
If you’re looking to optimize your plastic injection molding process, the Automatic Plastic Injection Machine is the solution you’ve been searching for. Don’t miss out on this opportunity to enhance your manufacturing capabilities. Like, subscribe, and share this video to stay updated with the latest advancements in injection molding technology.
Additional Tags and Keywords: automatic plastic injection machine, fully auto horizontal injection machine, fully automatic injection molding machine, low power consumption, easy-to-use PLC, plastic injection molding, manufacturing process, precision molding, energy-efficient, user-friendly operation.
Hashtags: #AutomaticPlasticInjectionMachine #InjectionMoldingTechnology #EfficientManufacturing #PLC #InjectionMoldingMachine
Here is a sample tilter for a plastic fully automatic horizontal injection machine:
“`
#include
class Tilter {
private:
bool isTilting;
public:
Tilter() {
isTilting = false;
}
void tilt() {
if (!isTilting) {
isTilting = true;
std::cout << "Tilting the injection machine horizontally." << std::endl;
// Add code to control the tilter mechanism
}
}
void stopTilting() {
if (isTilting) {
isTilting = false;
std::cout << "Stopping the horizontal tilt of the injection machine." << std::endl;
// Add code to stop the tilter mechanism
}
}
};
int main() {
Tilter tilter;
// Example usage
tilter.tilt();
// Wait for the tilter to complete tilting
// ...
tilter.stopTilting();
return 0;
}
```
In this example, a `Tilter` class is defined that handles the tilting functionality of the plastic fully automatic horizontal injection machine. The `Tilter` class has two member functions, `tilt()` and `stopTilting()`, which start and stop the tilting process respectively.
The `tilt()` function checks if the machine is not already tilting and then sets the `isTilting` flag to true. After that, it outputs a message indicating that the machine is tilting, and you can add the necessary code to control the tilter mechanism.
Similarly, the `stopTilting()` function checks if the machine is currently tilting and then sets the `isTilting` flag to false. It outputs a message indicating that the machine is stopping the horizontal tilt, and you can add the code to stop the tilter mechanism.
In the `main()` function, an instance of the `Tilter` class is created, and the tilt and stopTilting functions are called accordingly. You can add additional code as needed to control the timing and sequence of the tilting process.Plastic Injection Machine
#plastic #fully #auto #horizontal #injection #machine