Check out the leading manufacturer for professional coil packing solutions here.
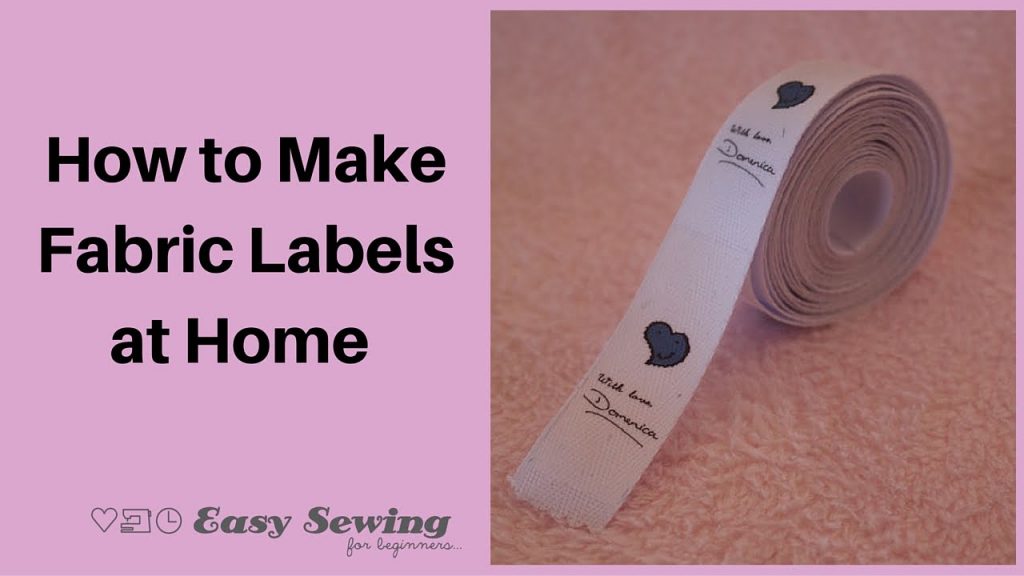
Title: How to Make Fabric Labels at Home: A DIY Guide Using a Labeling Machine
Introduction:
Are you a beginner at sewing and looking for a cost-effective way to create fabric labels for your homemade creations? Look no further! In this video, we will show you how to make fabric labels at home using a DIY labeling machine. These labels are not only washable but also durable, ensuring that your hard work is showcased for years to come. So, let’s dive in and get started!
Section 1: Understanding the Importance of Fabric Labels
Fabric labels play a crucial role in the world of sewing. They not only add a professional touch to your creations but also provide important information about the fabric content, care instructions, and your unique brand. With fabric labels, your handmade items stand out in the market and leave a lasting impression on your customers.
Section 2: Introducing the DIY Labeling Machine
The DIY Labeling Machine is a versatile tool that allows you to create custom fabric labels from the comfort of your own home. This compact and easy-to-use machine simplifies the label-making process, making it accessible for beginners and experienced sewers alike. With its user-friendly interface and robust features, you can effortlessly design, print, and apply fabric labels in no time.
Section 3: Step-by-Step Guide on Making Fabric Labels
Now that we have introduced the DIY Labeling Machine, let’s dive into the step-by-step process of making fabric labels at home.
Step 1: Designing Your Fabric Labels
Using the DIY Labeling Machine’s design software, you can unleash your creativity and customize your fabric labels. Choose from a variety of fonts, colors, and graphics to create a unique label that represents your brand and style.
Step 2: Printing Your Fabric Labels
Once you are satisfied with your design, load the label paper into the DIY Labeling Machine and print your fabric labels. The machine ensures precise printing and high-quality results, giving your labels a professional finish.
Step 3: Applying Your Fabric Labels
After printing, it’s time to apply your fabric labels to your handmade items. The DIY Labeling Machine’s adhesive backing makes it easy to stick the labels securely onto your fabrics. The labels are washable and durable, ensuring that they withstand regular use and maintain their integrity.
Section 4: Benefits of DIY Labeling Machine
The DIY Labeling Machine offers several advantages for sewing enthusiasts:
1. Cost-effective: By making fabric labels at home, you save money on outsourcing the label-making process.
2. Customization: The DIY Labeling Machine allows you to create personalized labels that reflect your unique style and branding.
3. Convenience: With this machine, you have complete control over the label-making process, eliminating the need to rely on third-party services.
4. Durability: The fabric labels made with the DIY Labeling Machine are washable and durable, ensuring that they stay intact throughout the life of your creations.
Conclusion:
Making fabric labels at home has never been easier, thanks to the DIY Labeling Machine. By following our step-by-step guide, you can create custom fabric labels that add a professional touch to your handmade items. So, unleash your creativity, showcase your brand, and elevate your sewing projects with washable and durable fabric labels made right at home!
Check out the leading manufacturer for professional coil packing solutions here. Labeling Machine
“Crafting Custom Fabric Labels & DIY Labeling Machine: Step-by-Step Tutorial for Homemade Labels”