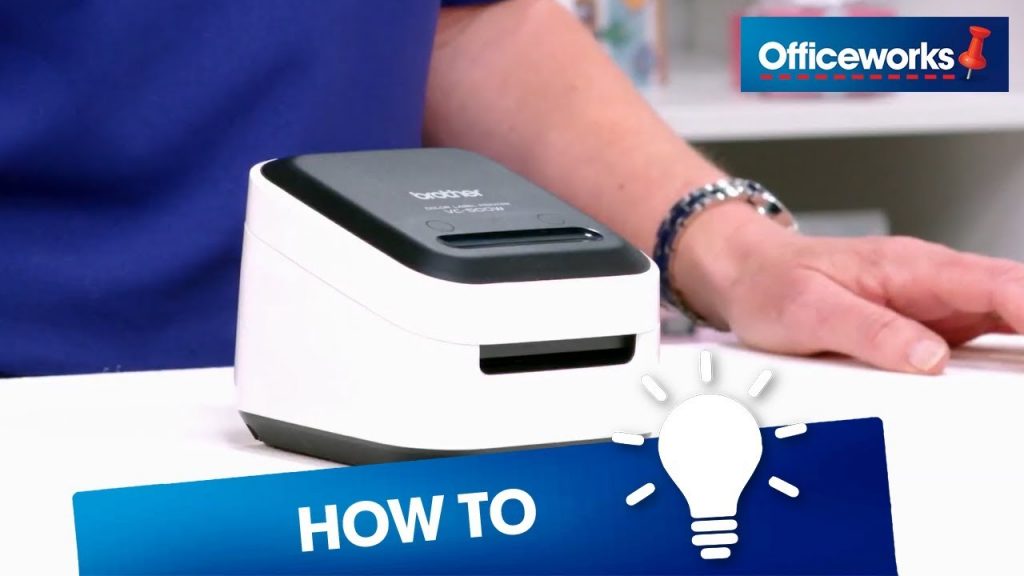
Are you struggling to set up your new Brother Label Printer? Look no further! In this YouTube video, we will guide you through the process of setting up your Brother VC-500W Colour Label Printer, ensuring a smooth and hassle-free experience. Whether you’re a beginner or an experienced user, this tutorial is designed to help you make the most of your label printing machine.
Setting up a new label printer can be a daunting task, especially if you’re not familiar with the device. That’s why we have created this step-by-step guide to simplify the process for you. By following our instructions, you’ll be able to get your Brother Label Printer up and running in no time.
Before we jump into the setup process, let’s take a moment to understand the importance of label printing machines. Label printing machines are essential for businesses and individuals who need to create professional-quality labels for a variety of purposes. Whether you’re labeling products, organizing files, or creating shipping labels, a label printer can save you time and effort.
Now, let’s get started with the setup process. First, unpack your Brother VC-500W Colour Label Printer and make sure you have all the necessary components. The package should include the printer itself, power cord, USB cable, and any additional accessories that may be required.
Next, find a suitable location for your label printer. It’s important to place it on a stable surface near a power outlet and within reach of your computer or other devices. This will ensure a seamless connection and easy access for printing.
Once you have chosen the perfect spot, connect the power cord to the printer and plug it into a power source. Then, connect one end of the USB cable to the printer and the other end to your computer. This will establish a connection between the two devices, allowing you to send print jobs from your computer to the label printer.
Now that the physical setup is complete, it’s time to install the necessary software. Brother provides a user-friendly software package that is compatible with both Windows and Mac operating systems. Insert the installation CD or download the software from the Brother website and follow the on-screen instructions to install it on your computer.
Once the software is installed, open the label printing application and familiarize yourself with its features and functionalities. Brother’s software offers a wide range of customization options, allowing you to create labels that meet your specific requirements. Experiment with different fonts, colors, and layouts to achieve the desired look for your labels.
In addition to the software, Brother also provides a mobile app that allows you to print labels directly from your smartphone or tablet. This feature is especially convenient for on-the-go printing or when you don’t have immediate access to a computer.
Now that you have successfully set up your Brother Label Printer and familiarized yourself with the software, it’s time to start printing! Load the label roll into the printer, making sure it is properly aligned and secured. Adjust the settings in the software to match the label size and layout, and then send your print job to the printer. Voila! Your labels will start printing, ready to be used for whatever purpose you need.
In conclusion, setting up your new Brother Label Printer doesn’t have to be a challenging task. With our step-by-step guide, you’ll be able to get your printer up and running in no time. Remember to familiarize yourself with the software and explore its customization options for the best label printing experience. Happy printing!
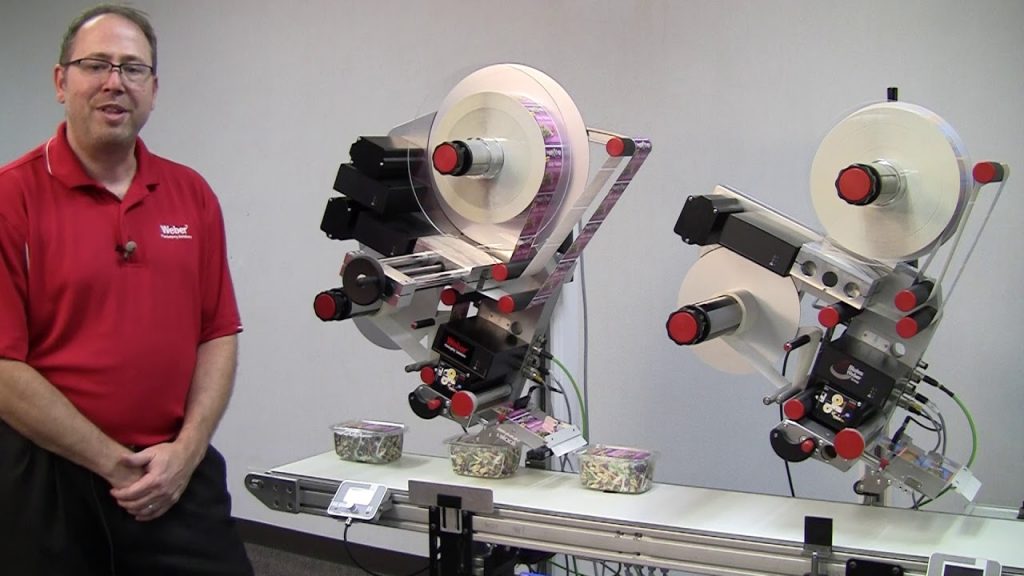
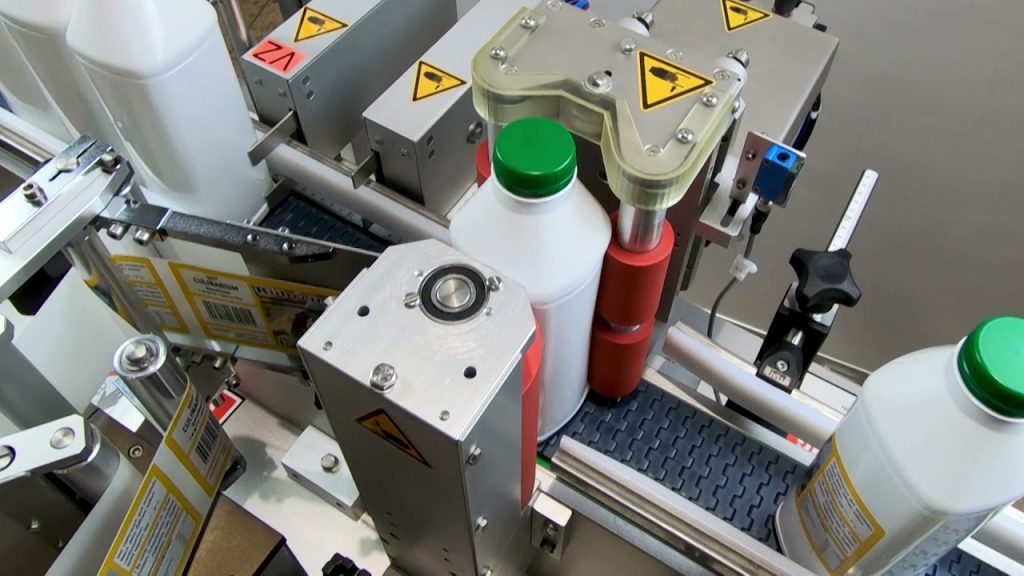
Check the coil packing solution with a leading manufacturer for a professional solution. Labeling Machine
“Effortless Setup & Printing with a High-quality Colour Label Printer – The Ultimate Guide”