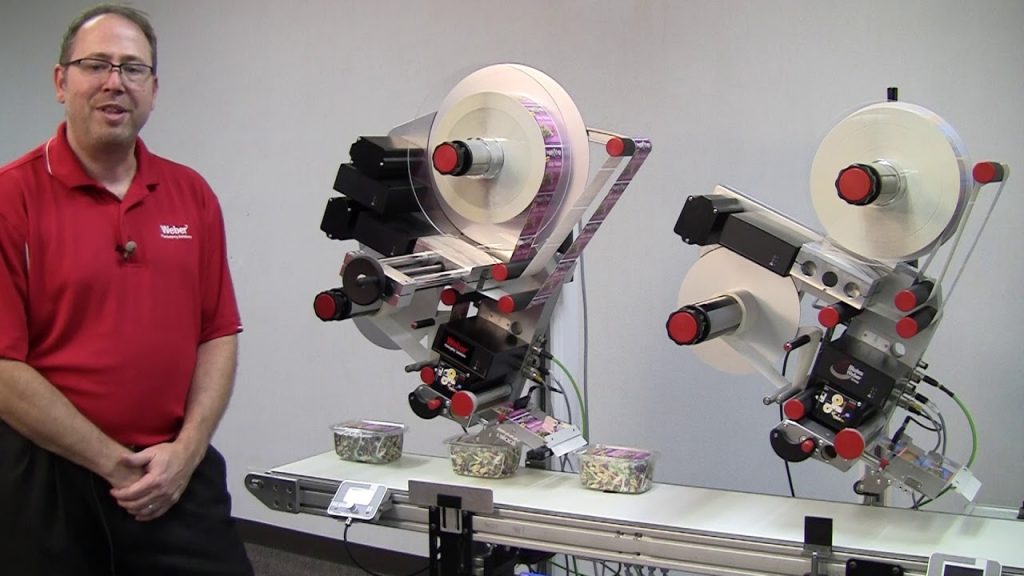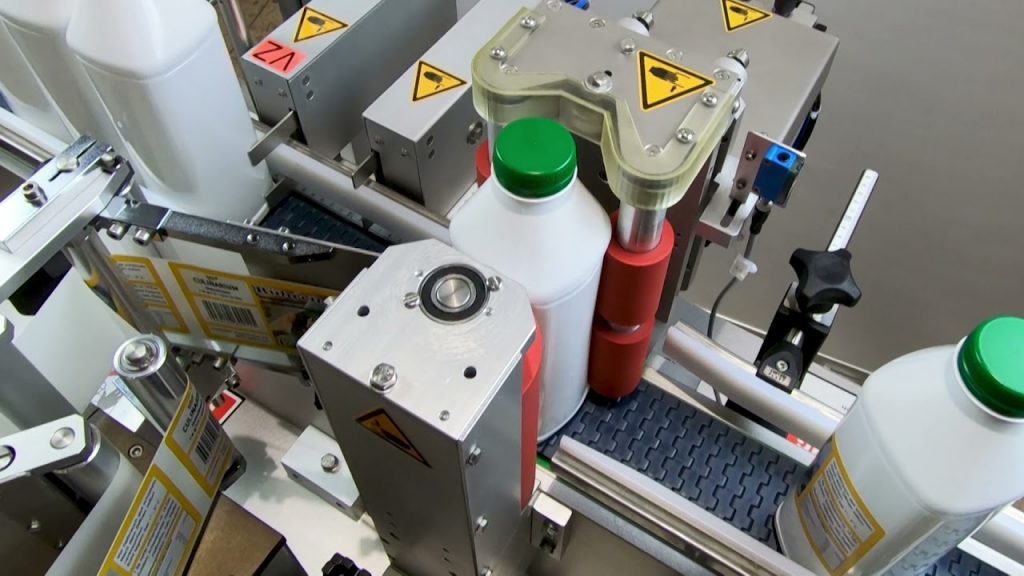
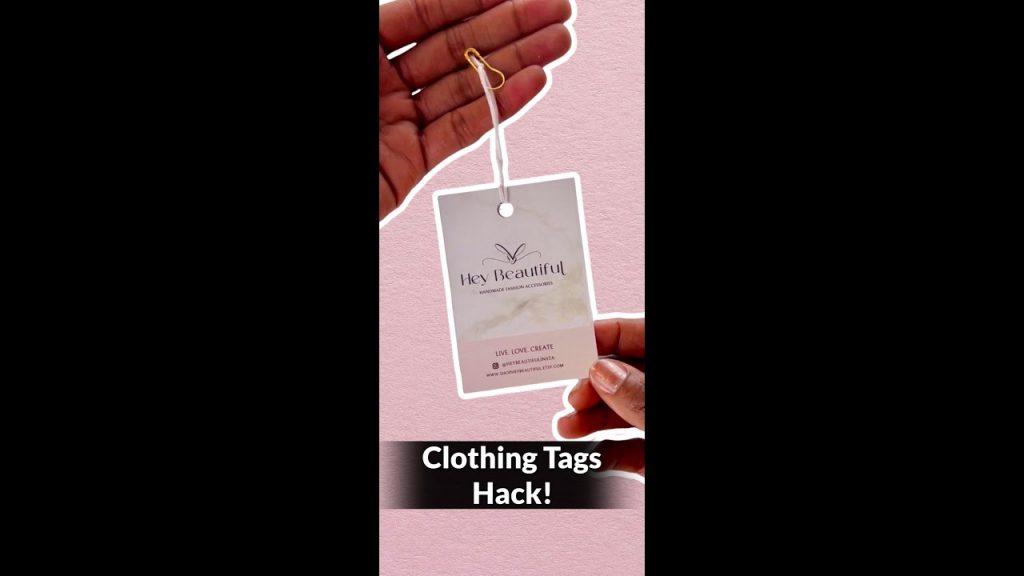
Check out our website for the best DIY clothing tags hack using the DIY Labeling Machine. Whether you’re a small business owner preparing for vendor shows or running an online store, this article will guide you on how to create professional-looking clothing tags that will impress your customers.
Introduction:
Clothing tags are an essential part of branding and providing important information to customers. However, getting them professionally printed can be expensive and time-consuming. That’s where the DIY Labeling Machine comes in! With this innovative machine, you can easily create high-quality clothing tags at a fraction of the cost. Let’s dive into the step-by-step process of using the DIY Labeling Machine for your clothing tags.
Step 1: Designing your clothing tags
Before you can start using the DIY Labeling Machine, you’ll need to design your clothing tags. There are various software and online tools available that can help you create a professional-looking design. Make sure to include your logo, brand name, care instructions, and any other relevant information. Once you have your design ready, save it in a compatible file format for the DIY Labeling Machine.
Step 2: Printing your design
Now that you have your design ready, it’s time to use the DIY Labeling Machine to print your clothing tags. The DIY Labeling Machine is compatible with various types of materials, including fabric and paper. You can choose the material that best suits your needs and load it into the machine. Follow the instructions provided with the machine to ensure proper loading and alignment.
Step 3: Operating the DIY Labeling Machine
Once your design is loaded and aligned, it’s time to operate the DIY Labeling Machine. The machine is user-friendly and comes with a control panel that allows you to adjust settings such as font size, style, and spacing. Make sure to test print a few tags to ensure everything looks perfect before proceeding with the whole batch.
Step 4: Cutting and attaching the tags
After printing your clothing tags, it’s time to cut and attach them to your garments. The DIY Labeling Machine comes with a built-in cutting feature that allows you to easily trim your tags to the desired size. You can use a hole punch or a tagging gun to attach the tags to your clothing. Make sure to choose a method that is secure and complements your overall aesthetic.
Conclusion:
Creating professional-looking clothing tags has never been easier thanks to the DIY Labeling Machine. With this innovative tool, you can save time and money while still achieving high-quality results. Whether you’re a small business owner preparing for vendor shows or running an online store, the DIY Labeling Machine is a must-have for creating impressive clothing tags that will leave a lasting impression on your customers.
Check out our website for more information on the DIY Labeling Machine and start elevating your clothing tag game today!
Check the coil packing solution with a leading manufacturer for a professional solution here. Labeling Machine
“Unleash Your Creativity with This Must-Try DIY Clothing Tags Hack!”