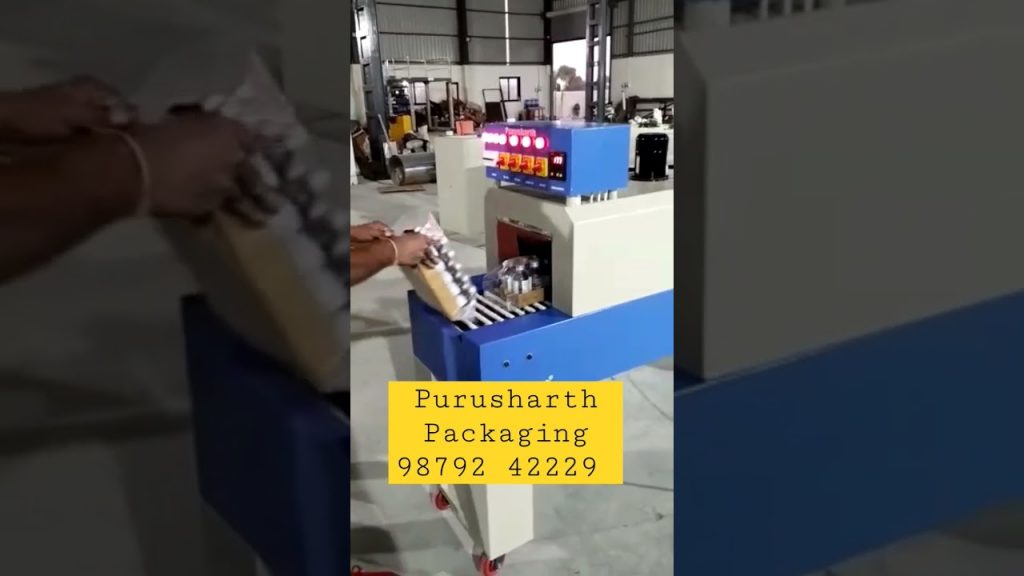
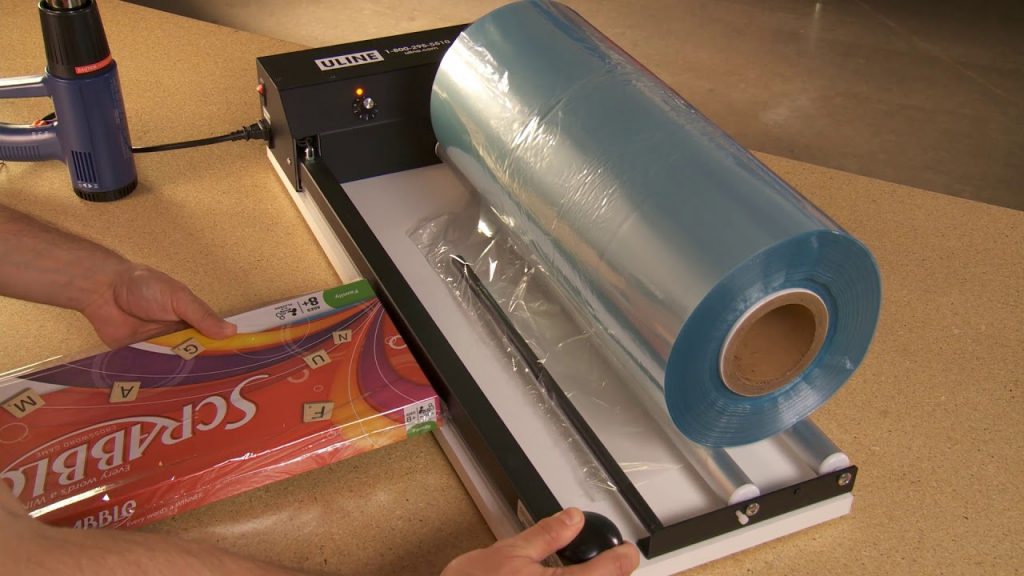
If you’re in the printing industry and looking for an efficient and reliable shrink machine installation, look no further than SYSPEX Shrink Machine. In this YouTube video, we will guide you through the process of installing the E-shrink model of the SYSPEX Shrink Machine at a customer’s facility in Beranang Selangor.
Installing a heat shrink machine is a crucial step for businesses in the printing industry, as it helps in packaging materials securely and professionally. With the E-shrink model from SYSPEX, you can streamline your packaging process and ensure the highest level of efficiency.
In this video, we will walk you through the step-by-step installation process of the SYSPEX E-shrink model. From unpacking the machine to connecting it to the power source, we will cover everything you need to know to get your shrink machine up and running smoothly.
The E-shrink model from SYSPEX is known for its advanced features and user-friendly interface. It offers precise temperature control, adjustable conveyor speed, and an intuitive control panel, making it easy for operators to operate the machine efficiently.
Before we dive into the installation process, let’s take a moment to understand the importance of heat shrink machines in the printing industry. Heat shrink machines are used to wrap and seal products, providing them with protection during transportation and storage. They use heat to shrink a plastic film tightly around the product, creating a secure and tamper-evident packaging.
The installation process of the SYSPEX E-shrink model involves the following steps:
1. Unpacking the machine: We will guide you through the process of safely unpacking the machine and ensuring that all the components are intact.
2. Setting up the machine: We will show you how to position the machine correctly and adjust its height and angle to suit your specific requirements.
3. Connecting the power source: We will demonstrate how to connect the machine to the power source and ensure that it is properly grounded for safe operation.
4. Adjusting the settings: We will walk you through the various settings and options available on the control panel of the E-shrink model. This includes temperature control, conveyor speed adjustments, and other customizable features.
5. Testing the machine: Once the machine is set up and all the settings are adjusted, we will show you how to run a test cycle to ensure that everything is working perfectly.
By following these steps, you can ensure a seamless installation process for the SYSPEX E-shrink model and start using it to enhance your packaging operations in the printing industry.
In conclusion, the installation of a heat shrink machine, such as the SYSPEX E-shrink model, is essential for businesses in the printing industry. It offers a reliable and efficient solution for packaging materials securely. By following the step-by-step installation process outlined in this video, you can easily set up the machine and start benefiting from its advanced features and user-friendly interface.
Check the coil packing solution with a leading manufacturer for a professional solution right here. Shrinking Machine
“Efficient Installation and Operation of Heat Shrink Machine for Streamlined Packaging Solutions”