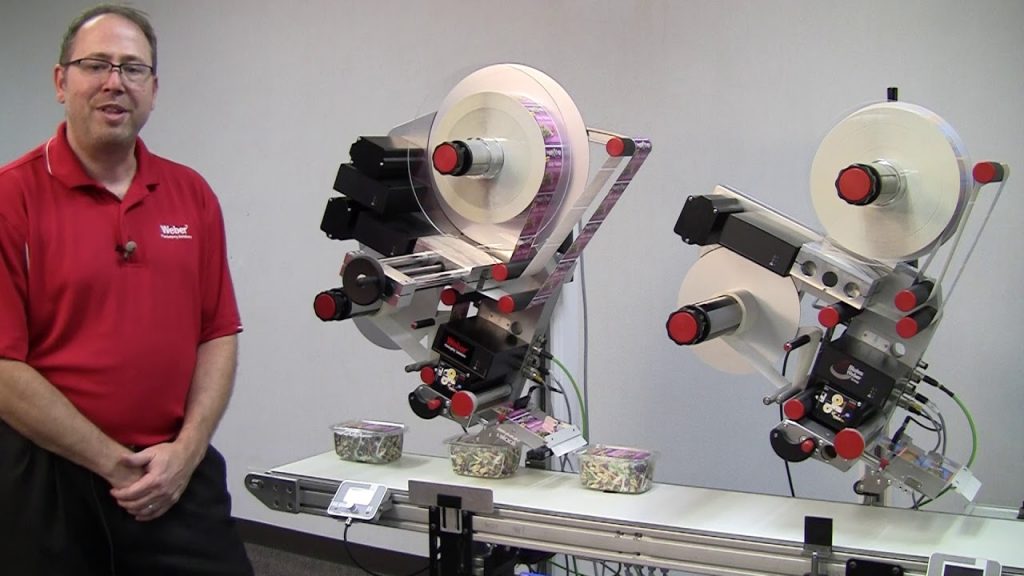
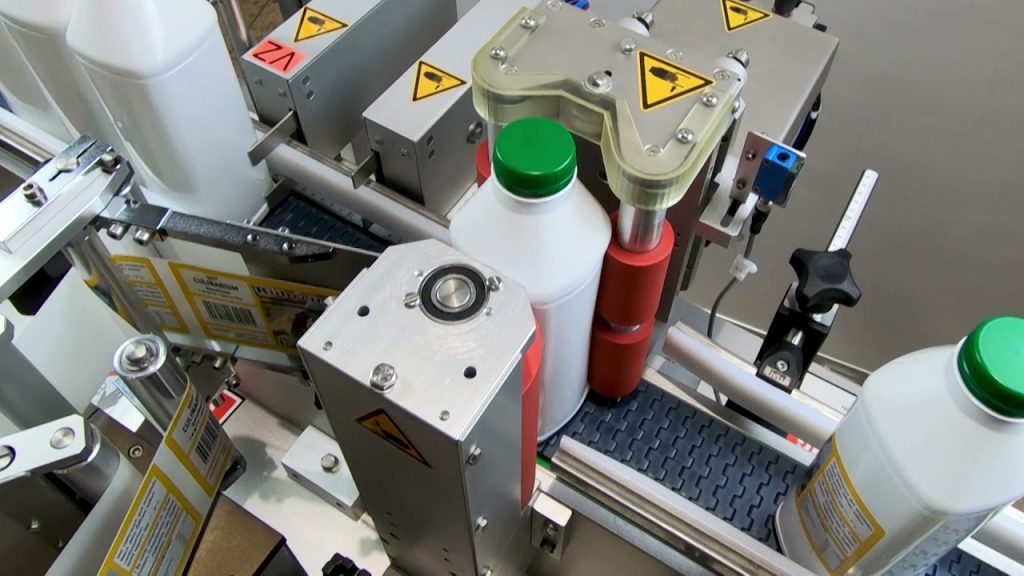
Are you tired of manually labeling your products? Do you want to save time and streamline your packaging process? Look no further, because we have the perfect solution for you – a DIY labeling machine!
In this YouTube video, we will show you how to create your own labeling machine using readily available materials and a thermal printer. We will also guide you through the process of making DIY stickers and labels for your products. So, let’s dive right in!
DIY labeling machines have become increasingly popular among small businesses and individuals who want to label their products efficiently and cost-effectively. These machines are easy to make and can be customized to suit your specific labeling needs.
To create your own DIY labeling machine, you will need a few basic materials such as a sturdy base, a stepper motor, a power supply, a thermal printer, and some basic electronics components. Don’t worry if you’re not familiar with electronics – we will provide a step-by-step guide in the video to help you assemble the machine.
Once you have assembled your DIY labeling machine, the next step is to design and print your own stickers and labels. With a thermal printer, you can create high-quality labels with ease. Thermal printers use heat to transfer ink onto the label, resulting in crisp and durable prints.
To design your labels, you can use various software programs such as Adobe Illustrator, Canva, or even Microsoft Word. These programs offer plenty of templates and design options, allowing you to create professional-looking labels that represent your brand.
In the video, we will also provide tips and tricks for designing effective labels, such as choosing the right font, colors, and graphics. We will show you how to incorporate your logo and product information into the label design, ensuring that your products stand out on the shelves.
Once you have designed your labels, it’s time to print them using the thermal printer. We will demonstrate how to load the printer with label rolls and adjust the settings for optimal printing. You will learn how to adjust the print density, speed, and other parameters to achieve the desired results.
With your DIY labeling machine and printed labels ready, all that’s left is to start labeling your products. Whether you’re packaging fine art prints, homemade cosmetics, or handmade crafts, our DIY labeling machine will make the process quick and hassle-free.
By using a DIY labeling machine, you can save valuable time and resources that would otherwise be spent on manual labeling. You can also ensure consistency and professionalism in your product packaging, enhancing your brand image.
In conclusion, a DIY labeling machine is a game-changer for small businesses and individuals looking to streamline their packaging process. With its ease of use and cost-effectiveness, this machine is a must-have for anyone in need of efficient labeling solutions.
So, why wait? Start creating your own DIY labeling machine today and take your product packaging to the next level. Watch our YouTube video for a step-by-step guide and unleash the power of DIY labeling!
Check out the video below to see how you can create your own DIY labeling machine and revolutionize your packaging process. Don’t forget to subscribe to our channel for more exciting DIY projects and packaging tips.
[YouTube video embedded here]
Remember, with a DIY labeling machine, labeling your products has never been easier. Start saving time and resources today!
Check the coil packing solution with leading manufacturer for the professional solution just here: [Link to relevant manufacturer’s website] Labeling Machine
“How to Create Professional Stickers and Labels for Packaging Art Prints using a Thermal Printer and DIY Labeling Machine”