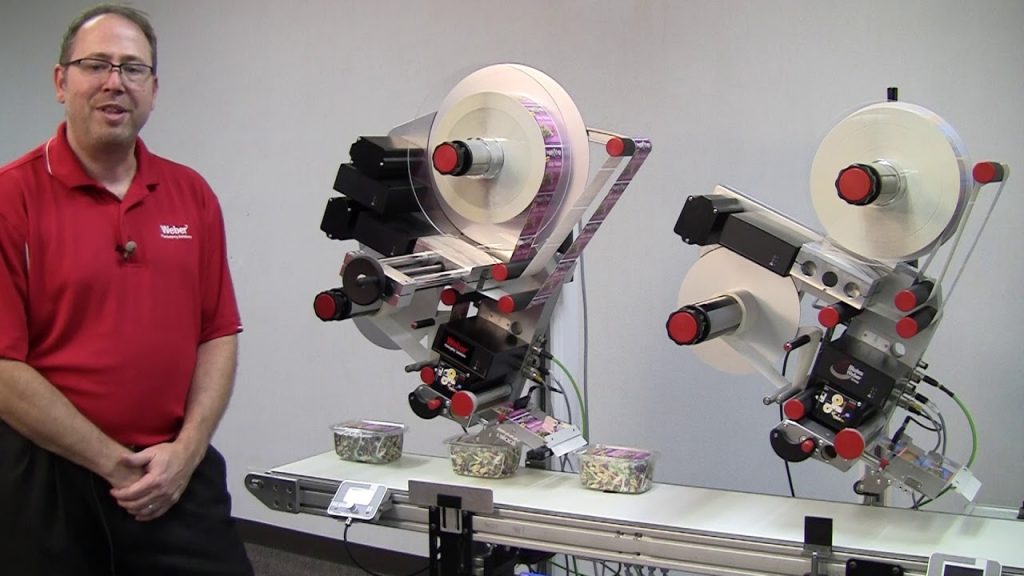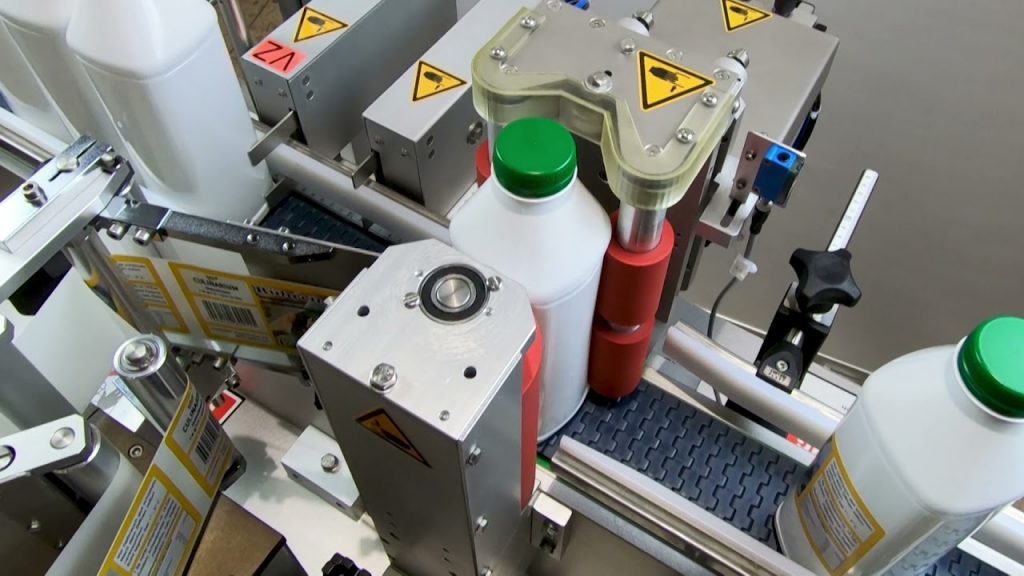

If you’re in the clothing industry, you understand the importance of having high-quality clothing labels. Not only do they provide important information about your brand and product, but they also add a professional touch to your garments. In this article, we will explore the benefits of using a label machine for clothes and how you can make your own clothing labels.
Label machines for clothes are an essential tool for any clothing manufacturer or retailer. These machines allow you to create custom labels with ease and precision. Whether you need to print care instructions, size labels, or brand logos, a label machine can do it all. Using a label machine for clothes saves you time and effort compared to manual labeling methods. With just a few clicks, you can have perfectly printed labels ready to be attached to your garments.
One popular label machine for clothes is the LabelMaster 2000. This machine offers advanced features and functionality, making it a top choice for many clothing manufacturers. The LabelMaster 2000 allows you to print labels in various sizes and fonts, giving you the flexibility to create labels that suit your brand’s aesthetic. Additionally, this machine can print on a variety of materials, including fabric, satin, and nylon, ensuring that your labels will withstand wear and tear.
Making your own clothing labels is easier than you might think. With the right tools and materials, you can create unique labels that represent your brand. Here’s a step-by-step guide on how to make your own clothing labels:
1. Choose the right materials: Select a fabric that matches the style and quality of your garments. Cotton and satin are popular choices for clothing labels.
2. Design your label: Use graphic design software or online tools to create your label design. Include your brand logo, name, care instructions, and any other relevant information.
3. Print your labels: If you have a label machine, simply load your fabric into the machine and print your labels. If you don’t have a label machine, you can use iron-on transfer paper to print your labels at home. Cut out the labels and iron them onto your garments.
4. Attach the labels: Sew or use fabric glue to attach the labels to your garments. Make sure they are securely fastened and won’t come off easily.
By making your own clothing labels, you have complete control over the design and quality of your labels. This allows you to create a cohesive and professional look for your brand. Additionally, making your own labels can save you money in the long run, as you won’t have to rely on third-party suppliers.
In conclusion, using a label machine for clothes and making your own clothing labels can greatly benefit your business. These tools allow you to create high-quality labels that enhance your brand image and provide important information to customers. Whether you choose to invest in a label machine or make your own labels at home, you’ll be able to elevate your garments and stand out in the competitive clothing industry.
Check the coil packing solution with a leading manufacturer for the professional solution just here. Labeling Machine
“Crafting Your Personalized Clothing Labels: A Step-by-Step Guide with Label Machine Tips”